This page describes how to install the TCN Ethernet Design & Analysis Suite application on a Windows platform.
The installation "bootstrapper" bundles the msi-file for the TCN Ethernet Design & Analysis Suite application together with an installation file for the Microsoft Visual C++ 2015 Redistributable (x64) package.
For uninstalling the application, see chapter Steps chapter Steps for uninstalling below.
System requirements
- Runs on Microsoft Windows® 7, 8 and 10 x64 versions
- Requires about 220 260 MB of disk space
- The recommended amount of internal memory is at least 8 GB of RAMIn order to run the installation file you need a Java® Runtime Environment version 1.6 or later.
Microsoft Windows is a registered trademark of Microsoft Corporation.
Oracle and Java are registered trademarks of Oracle and/or its affiliates.
Installation steps
Step 1) Starting the installation
In order to avoid rebooting your computer, it is recommended that you close all other programs before starting the installation of TCN Ethernet Design & Analysis Suite.
Double click the install.jar file TCN_bootstrapper_BetaXX.exe file in your file explorer or run it from the command prompt:java -jar install.jar

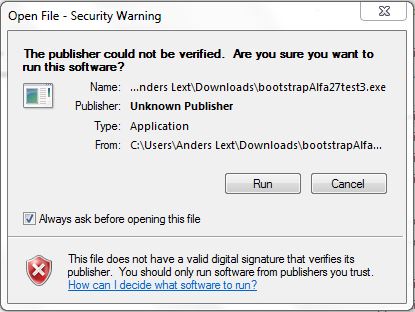
In Windows 7 you will see a security warning like this, click the Run button to continue.
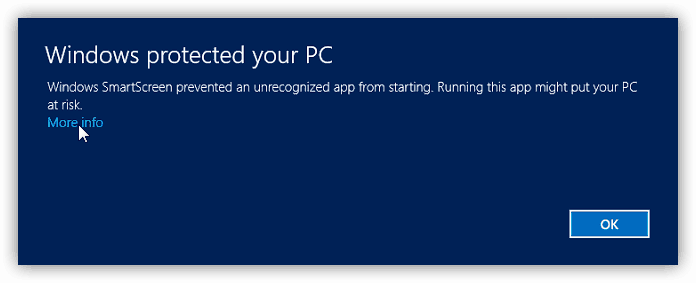
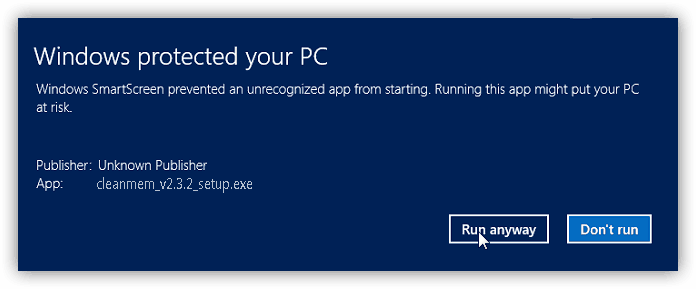
In Windows 8 and 10 you will get the SmartScreen warning, just click on More info and then choose Run anyway.
Step 2)
...
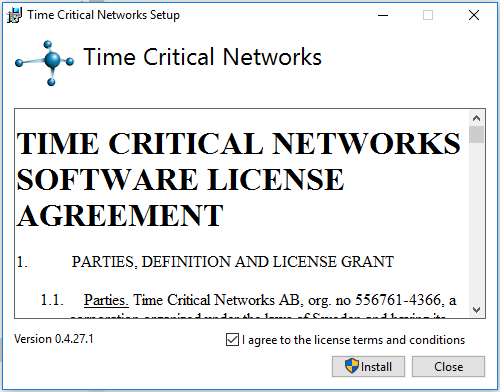
Agree to the license terms and conditions
Please read the license terms and conditions, check the I agree box and click the Install button.
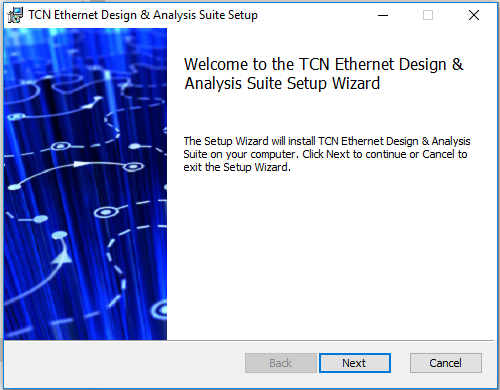
Step 3) Welcome screen

Select The msi-installer welcome screen. Select Next to move on.
Step 4)
...
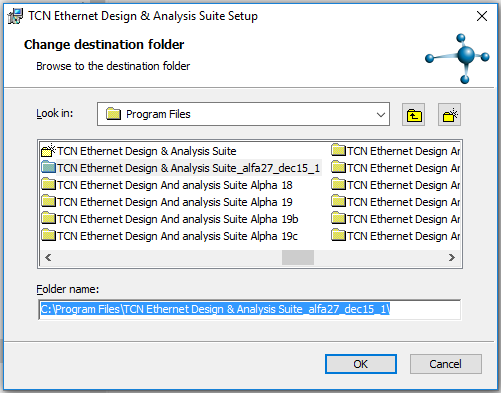
Destination Folder
Use the default directory or click the Change button to select or create another directory, then select OK to continue.
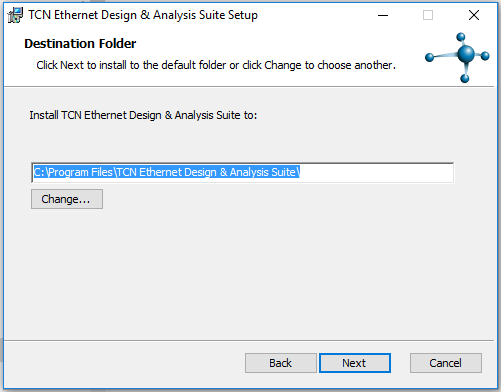
Select Next when you are satisfied with the path.
If the target directory does not exist you will be prompted that this directory needs to be created.

Select OK to continue.
If the target directory exists, you will be prompted about the risk of losing existing files.

Select Yes to continue with the installation or select No to choose another target directory.
Step 5)
...

The Base and Java Run-Time Environment are mandatory software to install. The Microsoft Visual C++ Redistibutable Package is optional and only needed if not previously installed. If installed it will prompt to either repair or uninstall it. Select either Repair or Close.

...
Additional Tasks
Check the box if you would like to add a shortcut icon on the desktop.
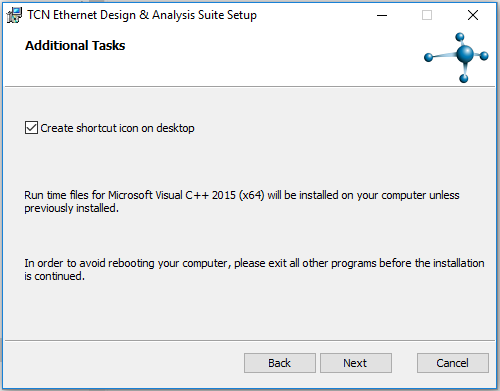
Select Next to continue.
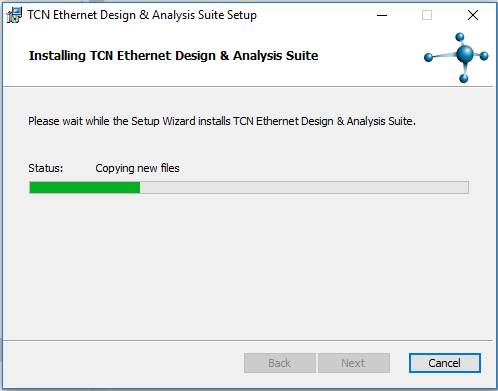
Step 6) Installing TCN software packages to disk
...

...
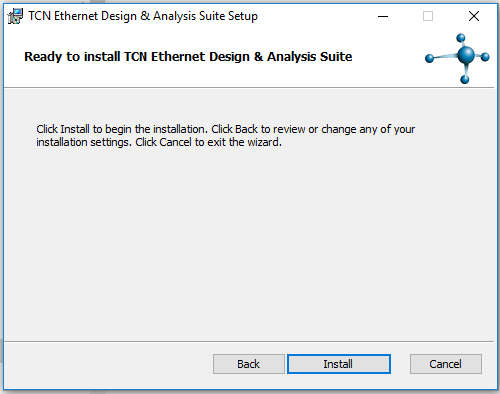
Click the Install button for the installation to begin.
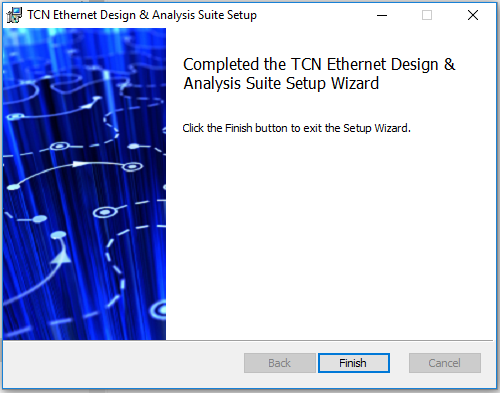
When the msi-installer is done, select NextFinish.
Step 7)
...
If desired, application shortcuts can be created.

Shortcuts can be created both in the Windows Start Menu and on the desktop.
Select Next when done.
Step 8) Done

...
Microsoft Visual C++ 2015 Redistributable (x64)
If not previously installed, the installation of Microsoft Visual C++ 2015 Redistributable (x64) packages will follow automatically.
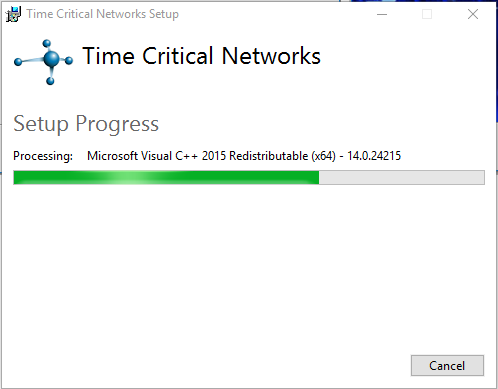
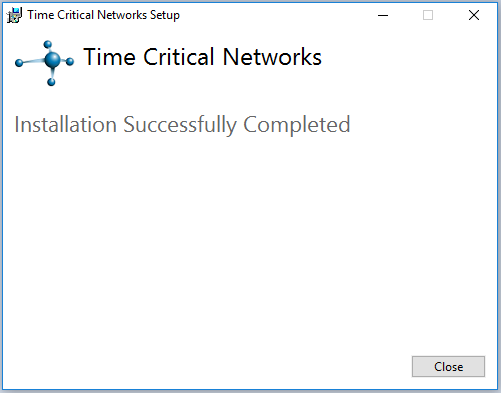
Select Close to quit the installer.
Steps for uninstalling
In the Window Windows Start Menu select Command Prompt (Admin). Enter the following command, including quotation marks, if you have placed the application in the default path:"C:\Program Files\goto the TCN Ethernet Design And & Analysis Suite\Uninstaller\uninstaller.jar"
If not, change the path to fit your installation.
Please note that if the uninstaller.jar is run from the Uninstall directory itself, it will silently fail.

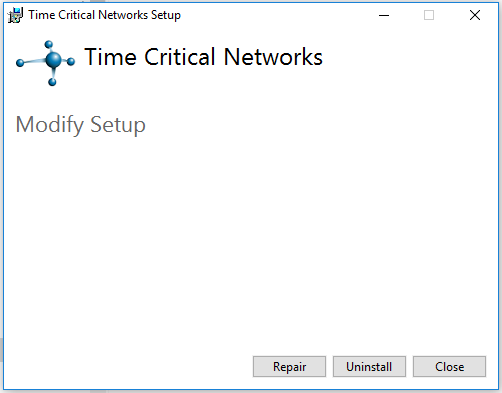
The following window will appear:

Select Uninstall to remove the software from the computer. This will also remove the shortcuts if any was produced during the installation.
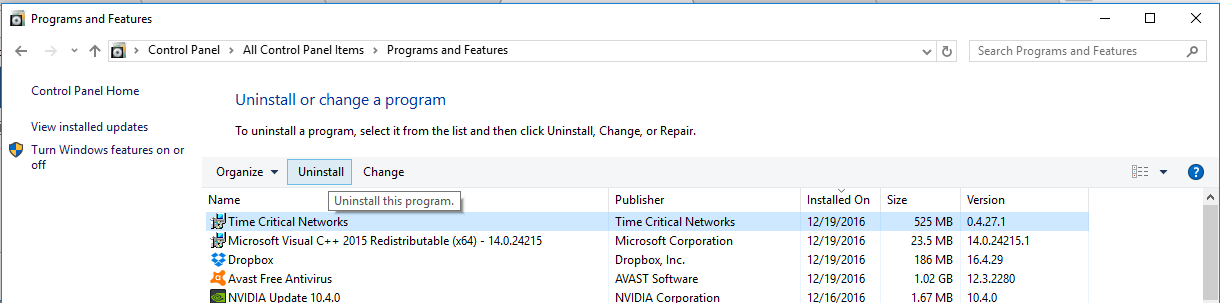
, right click the icon and select Unistall. This opens the Program and Features menu in the control panel where you can select the installed software and choose Uninstall above the sofware list.
Or you can navigate to Program and Features from the Control Panel by choosing Unistall a program under the Programs settings.
The Modify Setup dialog appears and you can either choose Repair or Unistall.
Known Issues
Avast Antvirus has a scanning function called "CyberCapture" (or previously "DeepScreen") which if activated might cause the installation process to fail.
Avast users should therefore (temporarily) deactivate the CyberCapture function before starting the installation of TCN Ethernet Design & Analysis Suite.
- Open Avast Antivirus.
- Click on Settings (the cogwheel icon).
- In the General tab, uncheck the Enable CyberCapture box.
- Click OK to save the change.